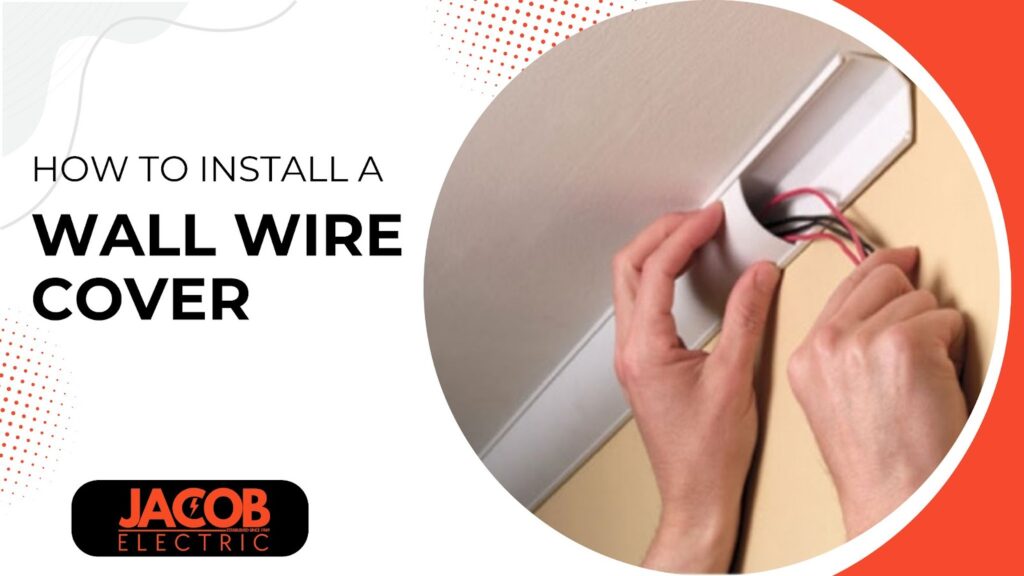
As you add more electrical devices to your Los Angeles home, you’re likely increasing the number of wires and cables. A cable management system, including a wall wire cover, helps you keep these wires organized and safely out of sight.
At Express Electrical Services, we bring over 40 years of experience in electrical rewiring. While many electrical tasks are best left to professionals, installing a wall wire cover is a DIY-friendly project you might want to tackle yourself.
Before getting started, here are a few things you should know. Check out our DIY guide below for installing a wall wire cover.
What Is a Wall Wire Cover and Why Should You Use One?
A wall wire cover is part of a cord management system designed to organize and hide wires safely, without damaging your walls. Made from fire-resistant plastic or rubber, these covers can often be painted or decorated to match the décor of your room.
Not only do cord covers improve safety by keeping wires out of sight and away from children and pets, but they also protect wires from wear and tear, ultimately extending their lifespan.
Choosing the Right Wall Wire Cover
There are several options for selecting a wall cord cover. The most important factor is ensuring that the cover is rated for electrical use. In places with heavy foot traffic, such as businesses or industrial settings, you might be legally required to use heavy-duty wire covers.
Consider these factors when choosing your wall wire cover:
What Types of Wires and Cables Can Be Hidden With a Wall Wire Cover?
You can use wall wire covers for most low-voltage electrical wiring, including TV cables, home theater wires, internet and networking cables, landline phone cables, computer cables, smart home automation wires, and home security system cables. You can even find covers for speaker wires and Ethernet cables.
What Types of Wires and Cables Should Not Be Covered?
Wall wire covers are not suitable for high-voltage wiring, such as those used for high-voltage appliances, exposed utility wires, service panels, or junction boxes. Always ensure that any electrical installation complies with safety regulations.
What Surfaces Can I Install a Wall Wire Cover On?
Wall wire covers adhere best to smooth, clean, dry surfaces. You can install them on drywall, wood, painted or wallpapered walls, concrete, brick, metal, tile, glass, plastic, baseboards, and moldings.
What Surfaces Should Be Avoided?
Avoid installing wall wire covers on textured, damp, or deteriorating surfaces as they may not adhere properly and could cause damage over time.
Tools and Materials You’ll Need
Most wire cover kits come with most of the necessary materials for installation. However, you may need some additional tools:
- Adhesive tape or adhesive wire covers
- Screws and wall anchors
- Measuring tape
- Level
- Utility knife
- Screwdriver
- Drill with masonry bit (if needed)
- Cable stripper or cutter
Step-by-Step Installation Guide
When working with electrical wiring, safety is key. Before starting, ensure you’re familiar with safe electrical practices. If you’re drilling into walls, make sure to locate existing wiring to avoid damage. If your home’s electrical system hasn’t been updated in over 15 years, consider consulting a licensed electrician to inspect your wiring before beginning any project.
Follow these steps to install your wall wire cover:
- Take Measurements: Use a measuring tape to calculate how much wire covering you’ll need. It’s better to buy a little extra in case of mistakes. Stick-on wire covers are recommended, as they are less likely to damage your walls during installation.
- Select a Covering: Ensure the cover has enough space for your wires and matches the color of your walls. Since wire covers are intended for safety and organization, it’s important that they blend seamlessly into the room’s décor.
- Align the Wires: Start by positioning the wires along the corner of the wall, lining them along the seams. Once they’re aligned, install the bottom of the wire cover. Secure the wires in place with clips or holders.
- Add the Covering: Remove the clips one by one, then press the adhesive cover onto the wall. Make sure you apply enough pressure to keep it in place. If the cover becomes loose, it won’t be effective in holding the wires. If any parts are loose, tighten the screws or reapply the adhesive to ensure the cover stays secure.
Specific Applications and Situations
Wall wire covers are useful anywhere you need to safely bundle and hide wires or improve a room’s appearance. There are also various cord management options, such as floor cord covers, home office cable organizers, corner cord covers, TV wire hiders, and more.
Wire covers are typically available as plastic tracks that mount over the wires. Common colors include white, metallic gray, or other neutral shades. You can also find paintable wire covers that allow you to customize the look to match your walls, with latex-based paints being the most effective for blending in.
Whether you’re managing cables in your living room or home office, wall wire covers provide a safe and aesthetically pleasing solution to organizing your electrical wiring.

